William Page Shaded Stars
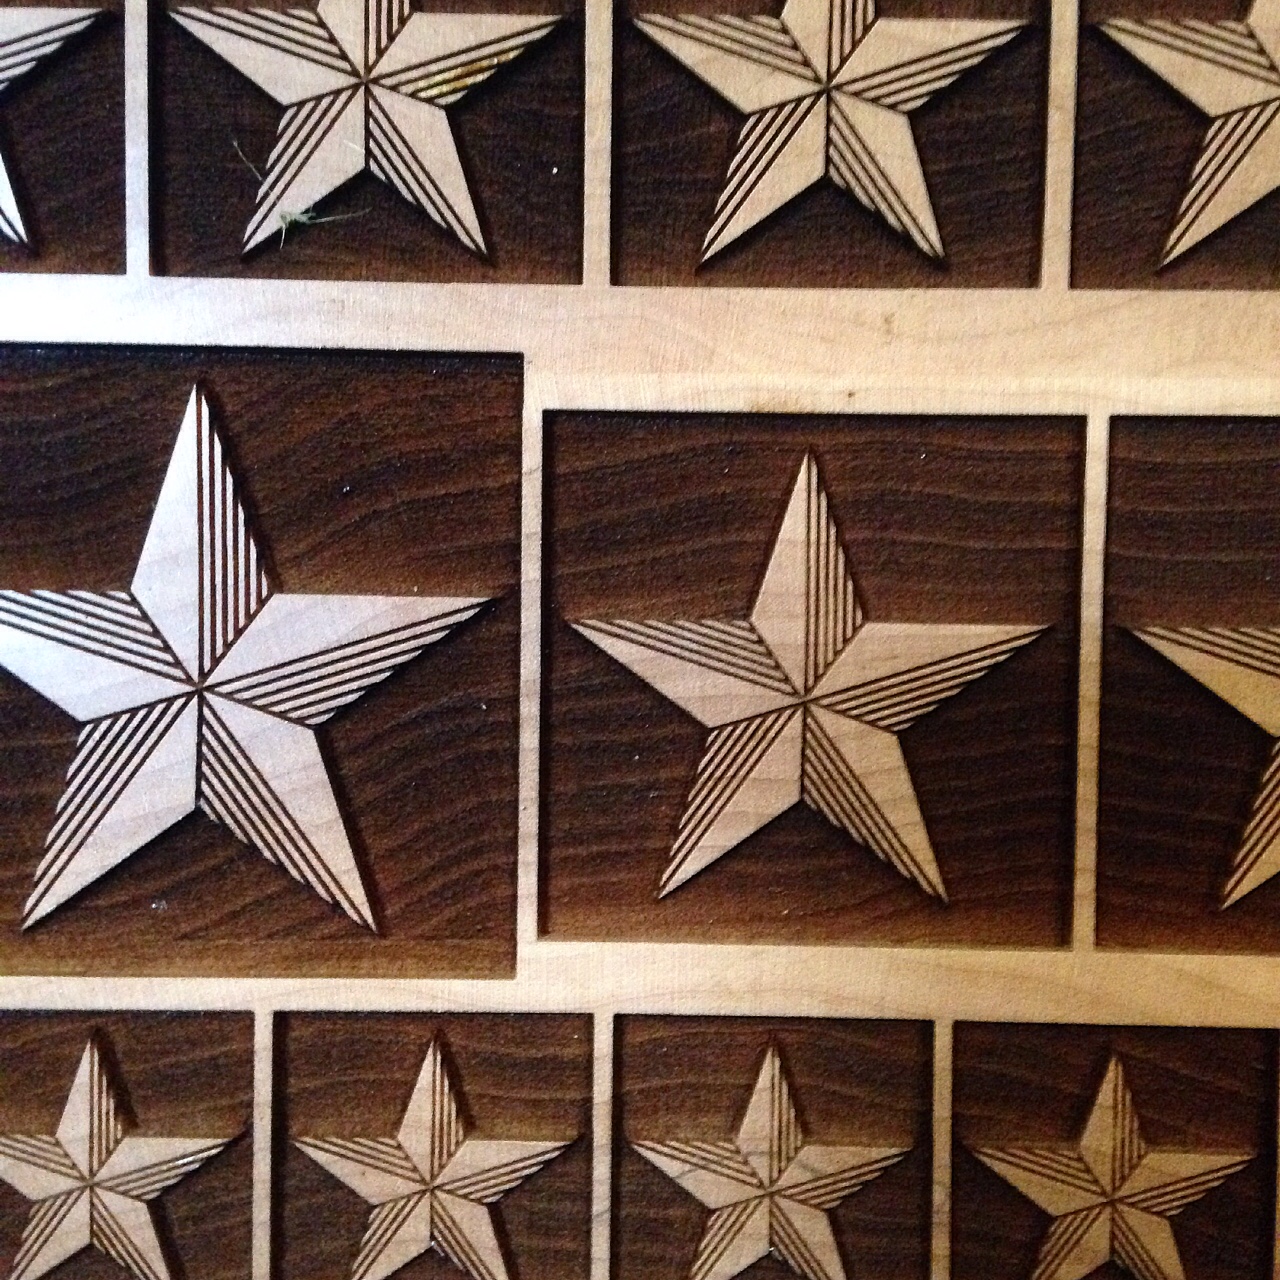
One of the best parts of having a daughter who is a printer and educator is that she always keeps an eye out for new wood type ideas that other printers would like. During the Amalgamated Printers’ Association 2015 Chicago Wayzgoose Erin went to spend the afternoon at the Newberry Library. While looking through the William Page Chromatic Specimen Book they have in their collection, she saw this beautiful shaded star. A quick cell phone picture of the image and her suggestion that it was a “Very nice star for MWT to laser cut and sell” sealed the deal.
I dropped the image into Photoshop to correct for the camera distortion and then into Illustrator. In the past 5 years I have created lots of star patterns from Tubbs, Morgans & Wilcox, Page, Hamilton, and other historic wood type specimen books.

This William Page star is named Star #1 in his book. When I enlarged the original photo to start the math needed to reproduce this new star, I knew the shading lines were engraved into the impression surface. Each engraved line starts in a slightly different point. I originally assumed the parallel lines were cut with a Royal Line Engraving machine. However, the slight variation in line width means that in the early 1850’s, a type trimmer, most probably a woman, cut each line by hand.
Most of the wood type companies in the 19th Century, and even into the first half of the 20th, used women to trim, stamp, engrave and finish the wood type cut on the pantographs. Women have better fine motor skills, are better at repeated tasks, have a better eye for details, and they did not have to pay them as much as a man doing the same work. 
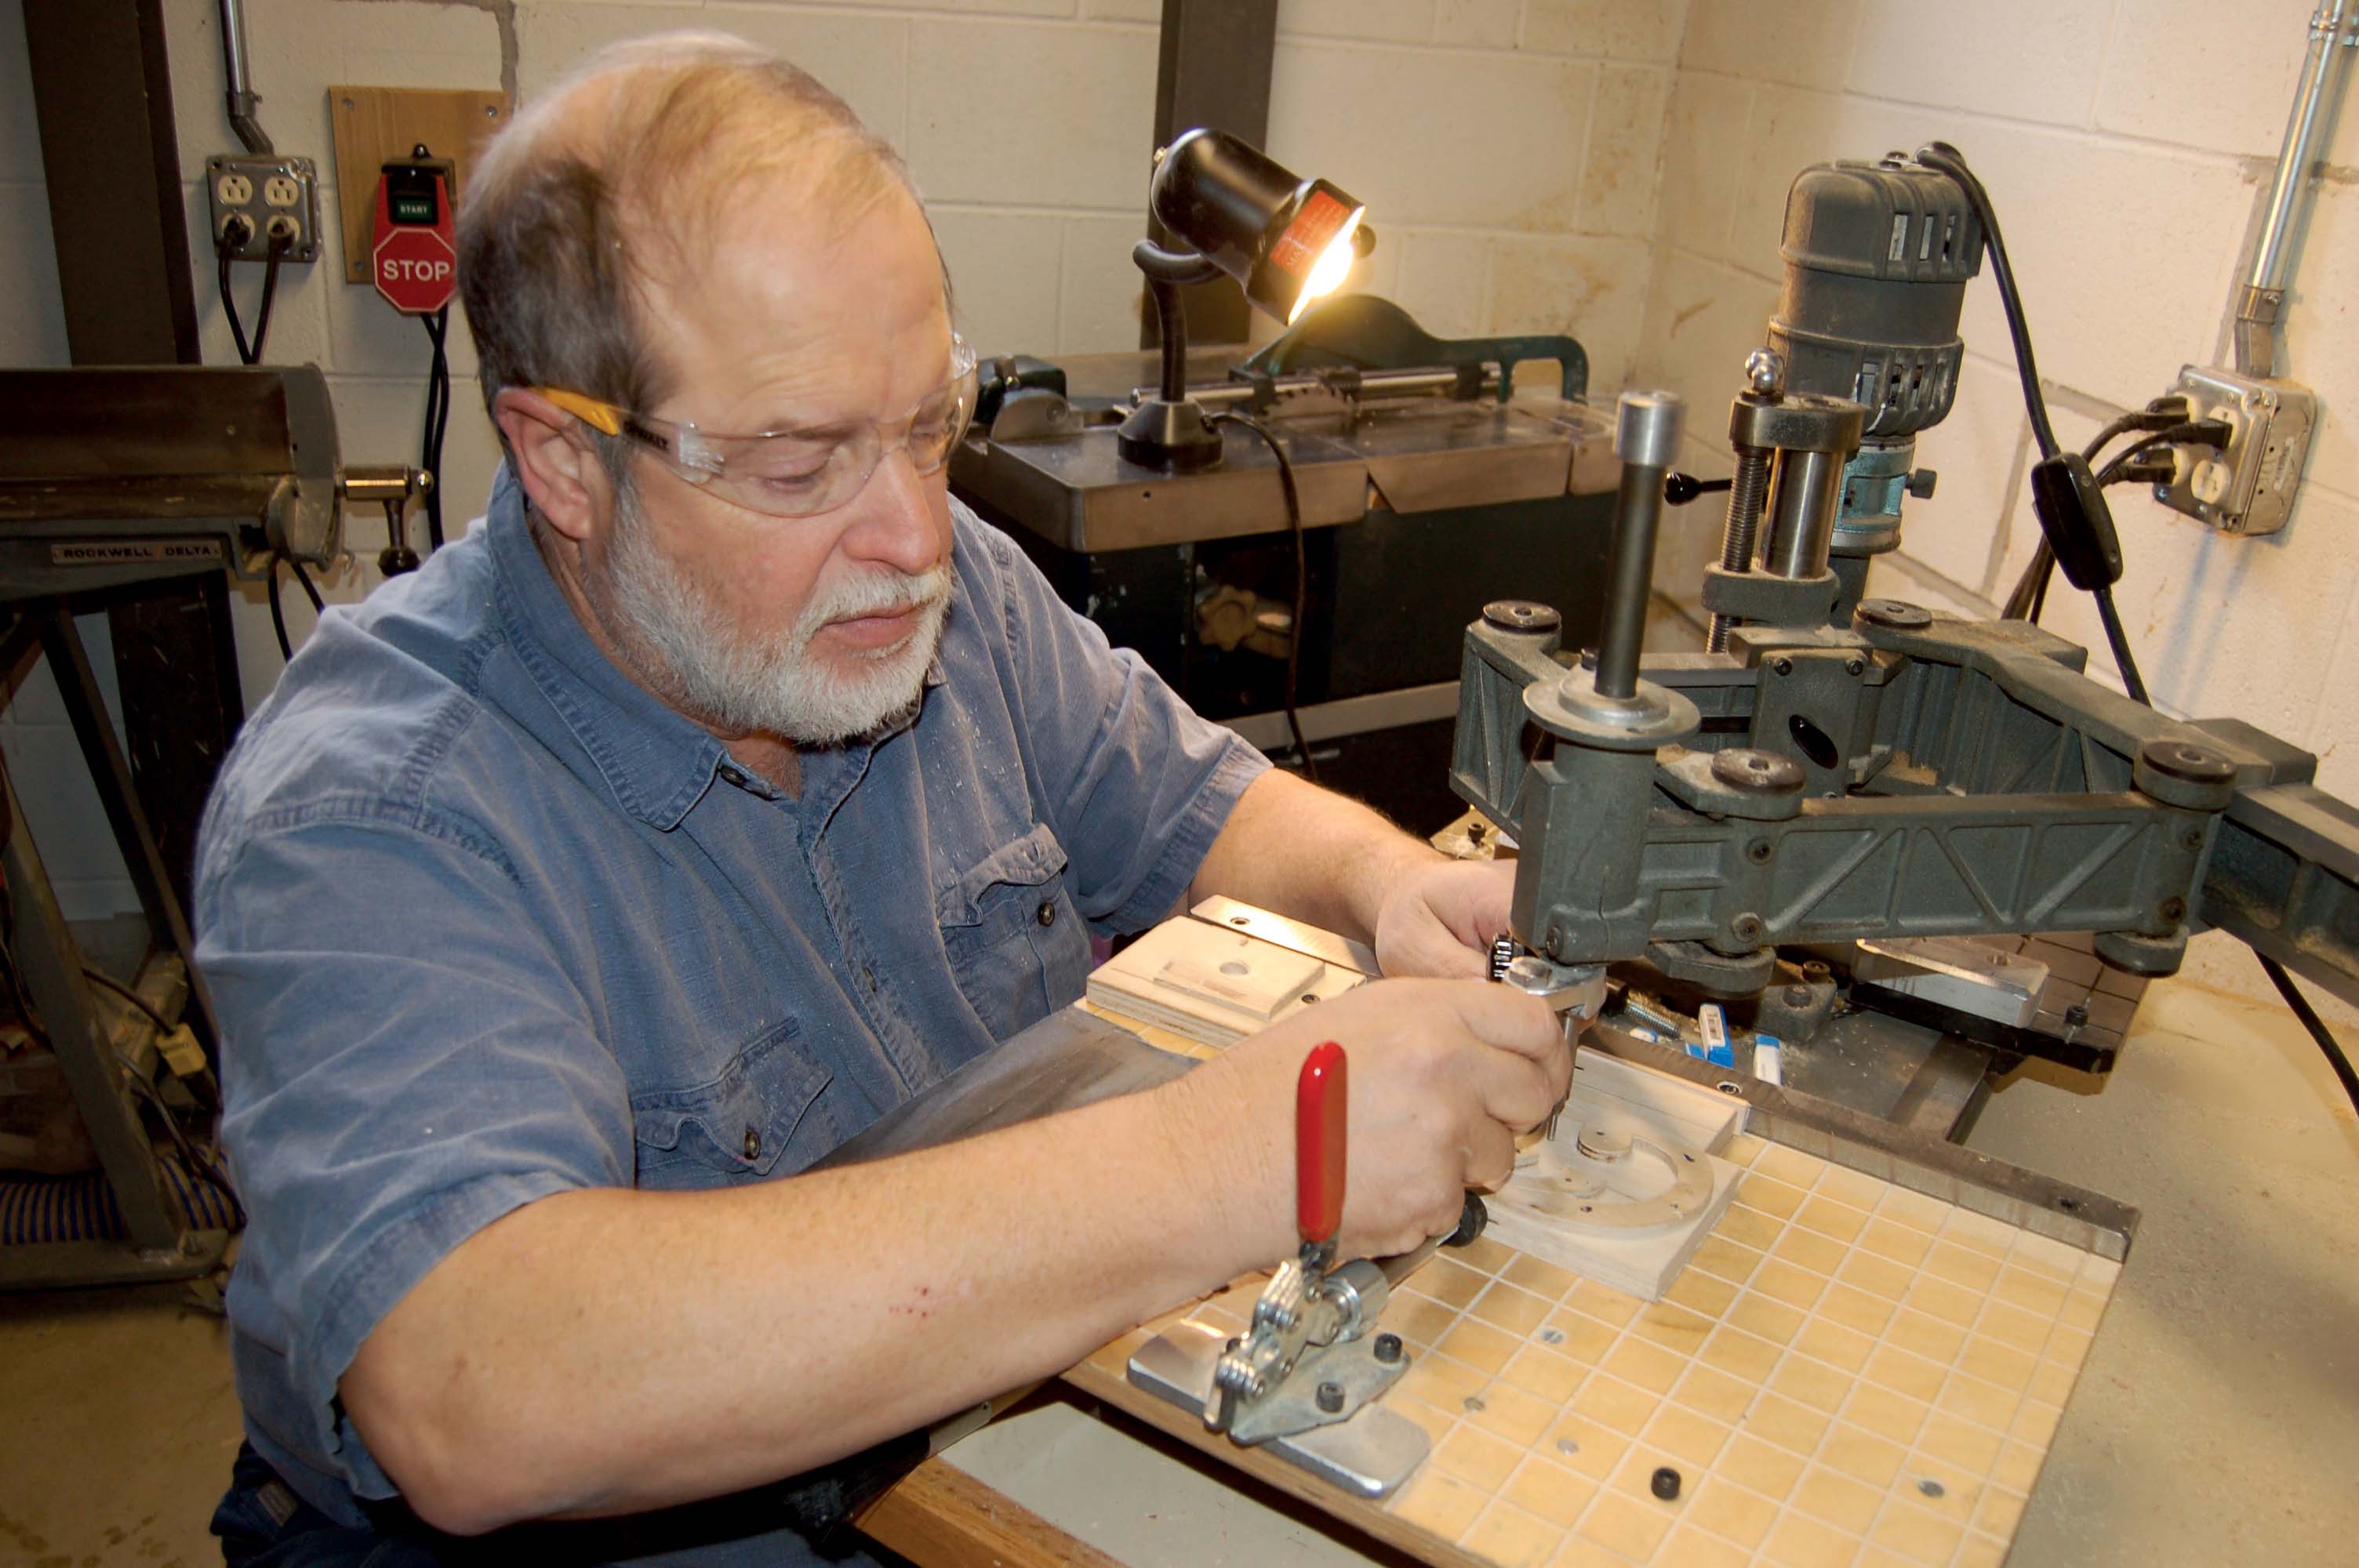
Enough teaching history…. From working with my new 12″ x 20″, Full Spectrum, 90 Watt, CO2 laser I knew when I spaced out the parallel lines on the new star, I would have to allow for the .003″ lost to the side heat of the laser path. I also wanted to be sure to leave enough solid wood for the printing impression to hold up to the pressure. If I made two passes with the laser I would have to make the stroke thinner so it would end up the proper width int he end. If I made only one pass on the impression surface, and just made a second pass on the shoulders, I would end up with a piece of wood type much closer to the original (this is what I finally decided to do).
The second consideration is the “Optical Pattern”. Nick Sherman taught me several years ago that as you reduce the size of a large pattern, you need to make corrections to allow the detail in the smaller versions to look normal optically, and in my case, survive the heat of the laser. Otherwise the small details with overlap and just burn away, such as the smaller islands on my laser cut US state wood type. After seven experimental cuttings, I finally decided to start with nine lines on the 12 line star, eight on the 10 line, seven on the 8 line and only five on the 6 line.
These new stars, and 6 others will be in the store soon, sold as pairs or in a “Handy Box Set”.