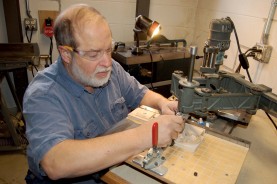
 When I was lucky enough to get my Hackler Block Leveller five years ago from a good friend in West Virginia, I did lots of research on other block levellers that had once been used to make end grain slabs of hard maple type high. I wanted to see how they worked so I could figure out how to properly use my Hacker. The only one that came up in research was the Vandercook model.
I found out there was one on display in a shop in New Jersey with a whole series of nice photos by Nick Sherman. For the next four years I never heard about them again. Then a printer friend said he has found one in Virginia and wanted my opinion. He bought it and hauled it to Illinois. Another friend bought the one in New Jersey and hauled it to Ohio. I spent several days and machined him out some missing parts. he s0ld it to Virgin Wood Type. The first one was purchased by Adam and Tammy Winn in Des Moines, Iowa. 
Dave Peat and I made a road trip to Des Moines to help get it cleaned and running. We also replaced all the 3 Phase 220 motors with 110 volt single phase ones. 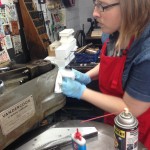 Erin and Tammy cleaned all the years of dirt and oil off the outside until it looked new.
 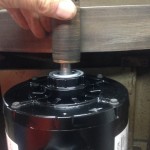 I am rebuilding the old hard leather “Friction Drive” for the table and Adam is figuring how to get the 400 pound steel table off so it can be lubricated.
Adam and Tammy plan to start making replacement letters, new wood type, and selling beautiful type high end grain maple slabs for other printers and engravers soon. People always tell me I should not be giving away my secrets to my competition, but I have always maintained “The more people making new wood type in the world the better”!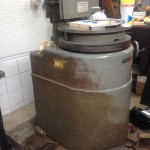
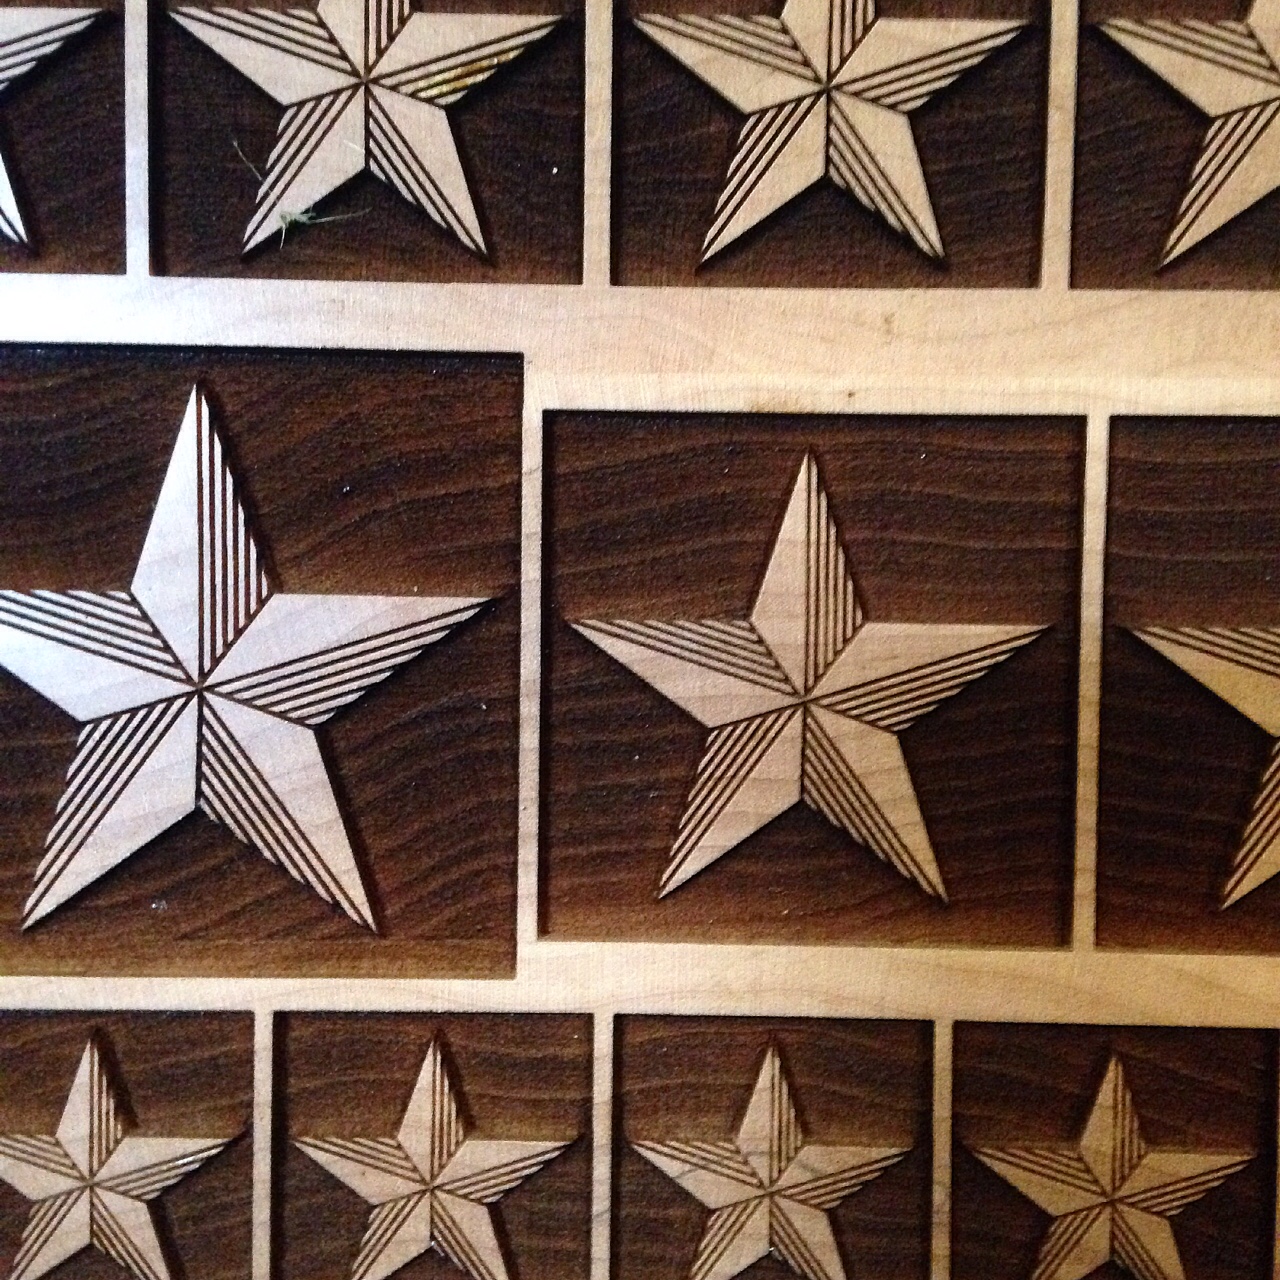
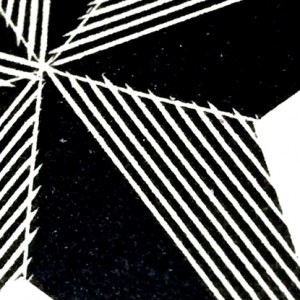
One of the best parts of having a daughter who is a printer and educator is that she always keeps an eye out for new wood type ideas that other printers would like.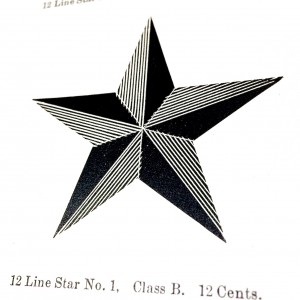 During the Amalgamated Printers’ Association 2015 Chicago Wayzgoose Erin went to spend the afternoon at the Newberry Library. While looking through the William Page Chromatic Specimen Book they have in their collection, she saw this beautiful shaded star. A quick cell phone picture of the image and her suggestion that it was a “Very nice star for MWT to laser cut and sell” sealed the deal.
I dropped the image into Photoshop to correct for the camera distortion and then into Illustrator. In the past 5 years I have created lots of star patterns from Tubbs, Morgans & Wilcox, Page, Hamilton, and other historic wood type specimen books.
This William Page star is named Star #1 in his book. When I enlarged the original photo to start the math needed to reproduce this new star, I knew the shading lines were engraved into the impression surface. Each engraved line starts in a slightly different point. I originally assumed the parallel lines were cut with a Royal Line Engraving machine. However, the slight variation in line width means that in the early 1850’s, a type trimmer, most probably a woman, cut each line by hand.
Most of the wood type companies in the 19th Century, and even into the first half of the 20th, used women to trim, stamp, engrave and finish the wood type cut on the pantographs. Women have better fine motor skills, are better at repeated tasks, have a better eye for details, and they did not have to pay them as much as a man doing the same work. 
Enough teaching history…. From working with my new 12″ x 20″, Full Spectrum, 90 Watt, CO2 laser I knew when I spaced out the parallel lines on the new star, I would have to allow for the .003″ lost to the side heat of the laser path. I also wanted to be sure to leave enough solid wood for the printing impression to hold up to the pressure. If I made two passes with the laser I would have to make the stroke thinner so it would end up the proper width int he end. If I made only one pass on the impression surface, and just made a second pass on the shoulders, I would end up with a piece of wood type much closer to the original (this is what I finally decided to do).
The second consideration is the “Optical Pattern”. Nick Sherman taught me several years ago that as you reduce the size of a large pattern, you need to make corrections to allow the detail in the smaller versions to look normal optically, and in my case, survive the heat of the laser. Otherwise the small details with overlap and just burn away, such as the smaller islands on my laser cut US state wood type. After seven experimental cuttings, I finally decided to start with nine lines on the 12 line star, eight on the 10 line, seven on the 8 line and only five on the 6 line.
These new stars, and 6 others will be in the store soon, sold as pairs or in a “Handy Box Set”.
This is the documentary film my daughter Erin is working on. I am very proud of what she is doing. Most of the people who will be interviewed, IF IT IS FUNDED, are my friends and members of the MWT Advisory Committee. They have helped me to be able to cut wood type. They are free with good advice and not afraid to tell me when I am wasting my time. They have shared their vast pool of knowledge with me. Erin, and hundreds of other letterpress printers around the globe. The timing of this film is critical. It can not wait to be produced five years from now IF IT IS NOT FUNDED.
Many people do not know how Kickstarter works. If the Kickstarter does not get fully funded by the deadline, all funds are returned to the supporters and the film Pressing On will not be made. Many people do know how it works and have seen the value in supporting the production of this film. Thank you to all the people who have contributed the wonderful rewards, and thanks to everyone who has supported the Kickstarter so far.
Check over the reward list, watch the video clips. Please consider making a donation of any size. It all adds up and will allow future letterpress printers to understand where the knowledge and techniques came from. 


